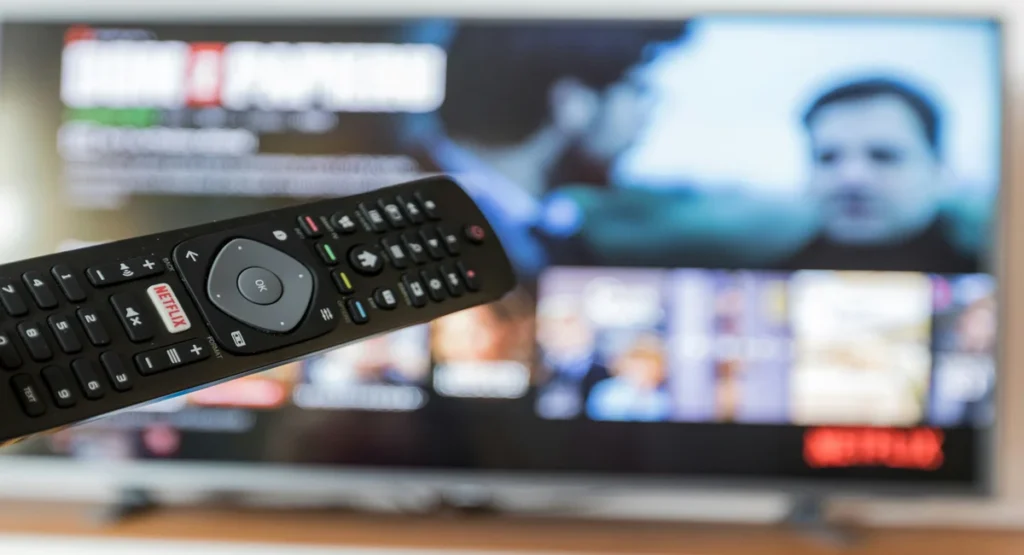
If you are trying to figure out how to connect the Philips universal remote to your TV, you will be happy to learn that it is quick and easy. Make sure the Philips remote has new batteries and that your TV is turned on first. Weak batteries can disrupt the programming process.

Start the Setup Process
Hold the remote’s Setup button until the red indicator light is illuminated. This indicates that programming mode is now selected on your remote. Next, choose the device you wish to control by pressing the TV button on the remote. The selection should be confirmed by the red light blinking once and remaining on.
Use a Code or Auto-Search Method
You can now use the auto code search method or manually enter a code. Enter the 4-digit code for your TV brand using the number pad if you know it (it can be found online or in the remote manual). If the code is accepted, the light will go out. You can still use auto search to figure out how to connect the Philips universal remote to your TV if you don’t know the code. Holding down the Power button while pointing the remote at the TV will cause it to start cycling through the available codes. To verify the code after your TV shuts off, let go of the button and hit Enter.
Test and Finish
After everything is set up, test the remote by returning to the TV, modifying the inputs, or adjusting the volume. If it doesn’t work, try rerunning the auto scan or using a different code. Auto search works well for many users looking to connect a Philips universal remote to a TV, particularly if the TV brand is less well-known or the code list is outdated.
Suppose you know how to connect a Philips universal remote to your TV. In that case, you can replace broken or lost remote controls without having to purchase a new one from the original manufacturer. Because this straightforward method works with various TV brands, Philips universal remote controls are a dependable and reasonably priced option.
HOW TO PROGRAM A PHILIPS UNIVERSAL REMOTE to TV(EVEN WITHOUT CODES)

A Philips universal remote is an excellent option if you’ve misplaced your original remote control or want a single one for all your devices. The best thing about it? The auto code search feature allows you to program the device even if you don’t have any codes. Here are the step-by-step instructions.
Turn on your device (such as your TV) and make sure the batteries in your Philips remote are new. Weak batteries can interrupt programming. Now, press and hold the remote’s Setup button until the red light illuminates. Let go of the button when it does.
Then, use the remote to press the device button (such as TV, DVD, or AUX). The red light will stay on after one blink. This indicates the kind of device you are attempting to program to the remote control.
The crucial step is to program without a code. Press and hold the Power button on the remote control while pointing it at your TV. When you press it, the remote sends out a new signal. The TV will turn off once the remote control has detected the correct code. To save the code, click Enter or OK right away.
To make sure, use the remote control to turn your TV back on and check the input and volume buttons. If the Philips universal remote reacts as intended, you can now successfully program it without using any manual codes. If not, carry out the steps once more.
If your TV brand isn’t listed or you don’t have access to a code list, it’s best to use the auto code search method. This method is compatible with most popular brands and is among the simplest ways to program a Philips universal remote without codes.
How to Connect Philips Universal Remote to TV for any Device
Connecting your Philips universal remote control to a television is quite simple. Whether you recently bought a new remote control or misplaced the one that came with your TV, this guide will help you connect it without any problems.
Turn on your TV manually first. Ensure the batteries are new, as weak batteries can make it difficult for the Philips universal remote to pair properly. Holding down the Setup button on your remote will keep the red light on. Release the Setup button after that.
After that, press the TV button on the remote control. The remote control for your TV is ready to be programmed when the red light blinks once and remains on. If your TV brand has a 4-digit code, use the number pad to enter it. If the code is accurate, the red light will go out, which indicates that the setup is working.
Don’t worry if you don’t know the code; you can use the auto code search method. Press the Power button several times while pointing the remote at the TV. The TV shuts off when the remote control detects the proper signal. To lock the code, press Enter or OK.
After that, turn the TV back on to test the remote control and see if the input, volume, and other features are operational. If they do, you have successfully connected the Philips universal remote control to your television.
Since this technique is compatible with almost all TV brands, Philips universal remote controls are a dependable and affordable way to control your home theater system.
What to Do If Your Philips Remote Doesn’t Work
Don’t worry if your Philips universal remote doesn’t work; there are a few easy solutions for this common problem. Follow these easy steps to troubleshoot and get the remote working again before assuming it’s broken.
Check the batteries first. The primary cause of remote failure is frequently weak or dead batteries. Ensure they are installed correctly with the proper polarity (+/-) and replace them with new ones.
Next, make sure the device and the remote have a clear line of sight. Universal remote controls use infrared (IR) signals, which are ineffective if an obstruction is in their path. When testing, try standing closer to the gadget as well.
If the remote control is still not responding, it may not be properly programmed. If so, you’ll need to reprogramme your Philips universal remote control using either the auto code search feature or the manual code entry method. This is particularly crucial if you recently switched to a new device or reset the TV.
Remote controls occasionally lose their settings after a battery change or extended periods of inactivity. To reset the remote, remove the batteries, press each button once to use up any remaining charge, and then put the batteries back in. Then, give programming another go.
If your remote control does not work after reprogramming and changing the battery, it might be broken or out of date. In that situation, the best course of action is to replace it or try a mobile universal remote app.
How to program a Philips universal remote with a code

If you know the code for your device, programming a Philips universal remote with a code is fast and dependable. This method allows complete control over a TV, DVD player, or sound system in simple steps.
First, confirm that your gadget, such as your television, is powered on. Then, new batteries should be put in the Philips remote controls to ensure they work correctly during setup.
Next, hold down the Setup button on your remote control until the red indicator light remains on, then let go. This activates the programming mode on your remote control.
Press the button on the device you wish to control, such as a TV, DVD, or AUX. Once, the red light will blink and remain on.
Enter your device’s 4-digit code using the number pad. This code can be found on Philips’ official website or in the remote control manual. The red light will go out after you enter the code, indicating that it was accepted.
In conclusion, aim the remote control at your gadget and hit the Power button. If the device shuts off, the configuration is finished. If it doesn’t react, follow the instructions again using the following code for your brand.
One of the most reliable methods for connecting your Philips universal remote to your devices is to learn how to program it with a code. It only takes a few minutes and is compatible with the most well-known brands.
How to use code search to program your universal remote
Don’t worry if you can’t find the device code or don’t have the manual; you can still use the code search method to program your universal remote. This feature makes the remote ideal for users who are unsure which code corresponds to their device, as it enables it to automatically scan and find the correct code.
The first step is to turn on the device you wish to control (like your TV, soundbar, or DVD player). Make sure the batteries in your universal remote control are new. After you press and hold the Setup button, the red indicator light should turn on and remain solid. Press and hold the button until the light comes on.
Next, press the remote’s device button, which may be TV, DVD, or AUX, depending on your programming. The red light ought to blink once and remain illuminated.
You are now prepared to use code search. Press the Power button on the remote control several times while pointing it at the device (or the Channel Up button on some models). A new code is sent to the device with each press. The correct code has been found when the device shuts off.
Press the Enter or OK button when your device shuts off to save the code in the remote. If you wait too long for the remote to lose the code, you may have to start over.
One of the simplest ways to program your universal remote without a manual is to use code search. Most major brands are compatible with it, and it’s beneficial if your device is older or not on the list.
Programming a Philips Universal Remote with Auto Search
Don’t worry if you don’t have your TV or other device’s code list. An easy and efficient way to pair your Philips universal remote without using special codes is to program it with auto search. This technique allows the remote to search through the available codes until it locates one that is compatible with your device.
Make sure your gadget (such as a TV) is turned on before you start. Next, replace the batteries in your Philips remote control. If the batteries are weak or outdated, the remote may not function correctly during setup.
Then, until the red indicator light remains on, press and hold the Setup button on your remote. Press and hold the Setup button until the light stays steady. Next, select the device button (such as TV, DVD, or AUX) corresponding to the device you wish to connect. After one blink, the red light should remain on.
The auto-search portion is now available. Slowly and repeatedly press the Power button while pointing the remote at your device. Your device receives a new signal with each press. Continue until your TV (or other device) shuts off. This indicates that the remote has located the proper signal.
Press the Enter or OK button on the remote control as soon as the device shuts off to save the code. If you wait too long or omit this step, the code may not be saved, in which case you will have to start over.
Turn your device back on, change the inputs, or adjust the volume to test the remote after programming. If all goes according to plan, you have successfully programmed your Philips universal remote using auto search.
This method is ideal when the brand code or handbook is unavailable and works with most TVs and electronics.
How do I program a Philips universal remote to my TV?
Turn on your television and put new batteries into your Philips universal remote control before programming it to your TV. Release the Setup button after holding it down until the red light remains on. The red light will blink once and stay on when you press the TV button. Enter your TV brand’s 4-digit code, found online or in the remote control manual. The code was accepted if the red light went out. Press the Power button to test the remote. The setup is finished if it functions. If not, use the auto code search method or try a different code.
How do you pair a universal remote to a TV?
Please turn on your television and put new batteries into your Philips universal remote control before programming it to your TV. Release the Setup button after holding it down until the red light remains on. The red light will blink once and stay on when you press the TV button. Enter your TV brand’s 4-digit code, found online or in the remote control manual. The code was accepted if the red light went out. Press the Power button to test the remote. The setup is finished if it functions. If not, use the auto code search method or try a different code.
How to make a TV remote in pairing mode?
Pairing is the wirelessly connecting a TV remote control to your TV so it can operate. This is particularly prevalent with Bluetooth-enabled remote controls and smart TVs. Here’s a detailed
Tutorial on how to pair your remote control:
First, turn on your television.
Verify that your television is turned on. For some TVs to recognize pairing, a particular screen—such as the home screen or settings—may need to be displayed.
Step 2: Determine the Type of Remote
Two primary categories of remote controls exist:
Pairing is not necessary for infrared (IR) remote controls.
Smart remote controls or Bluetooth must be connected to the TV.
Your remote control is probably Bluetooth and requires pairing if it has a touchpad or voice control.
Step 3: Set the Remote to Pairing Mode
Activating the pairing mode varies depending on the TV brand. Here are a few typical ones:
To activate the LED light on your Philips Smart TV, press and hold the PAIR button, often inside the battery box.
Samsung: Press and hold the Play/Pause and Return buttons for three to five seconds.
LG: Point at the TV and press and hold the OK (wheel) button.
Hold the Home and Back buttons on Sony (Android) TVs for a few seconds.
If there is no label on your remote, consult the user manual to find the right key combination.
Step 4: Await Verification
When your TV is in pairing mode, it should say “Pairing complete” or “Searching for remote.”
If the pairing succeeded, you might hear a beep or see the LED light stop blinking.
Step 5: Examine the remote
Use simple features like voice commands, input selection, and volume to ensure the remote operates correctly.
Try again after resetting
If pairing doesn’t work, remove the batteries from the remote for a short while, put them back in, and then do it again.
Related Article
Best Universal Remotes with Voice Control in 2025
Best Universal Remotes for Smart Homes in 2025
How to Reset a Universal Remote – Easy Guide2025
GE Universal Remote Codes For Roku TV & Programming [2025]
Universal Remote Codes For Sanyo TV [GE, RCA, Philips, Etc]
Frequently ask Questions
Q:How do I pair my Philips TV remote control?
ANS: Ensure the TV is turned on and within range before pairing your Philips TV remote control. You can point and use standard infrared (IR) remotes without pairing. Go to Settings > Remote & Accessories > Add Accessory, then follow the on-screen directions for smart or Bluetooth remote controls (used with more recent Philips TVs). Press and hold the remote’s Pairing or OK + Volume Down buttons, depending on the model, until the pairing message appears on the screen. Verify the connection to finish the procedure.
Q:How do I program my Philips universal remote?
ANS: Turning on the device you want to control (such as a TV or DVD player) is the first step in programming your Philips universal remote. Holding down the Setup button on the remote will cause the red light to illuminate and remain on. After that, let go and press the button for the device you want to configure, such as the TV, DVD, or AUX. Enter the 4-digit code that corresponds to the brand of your device. The red light will turn off if the code is accepted—Press Power or Volume to test the remote. Use the auto code search method or try a new code if it doesn’t work.
Q:What is the 4 digit code for the Philips TV?
ANS: The most common 4-digit codes for Philips TVs are 1004, 0502, 0002, and 0205. Try these when programming your universal remote.
Q:Can I use any Philips remote for my TV?
ANS:Not every Philips TV can be controlled by every Philips remote. Check the user manual or compatibility list to ensure the remote is compatible with your TV’s model. Universal Philips remotes often work with most models.
Q:How to connect a universal remote to a TV without code?
ANS: To connect a universal remote to a TV without a code, use the auto search method:
- Turn on your TV manually.
- Press and hold the Setup button on the remote until the LED light stays on.
- Press the TV button.
- Point the remote at the TV and press the Power button repeatedly (or use the Channel Up button) until the TV turns off.
- Press Enter or OK to save the code.
This lets the remote scan for the correct code automatically.